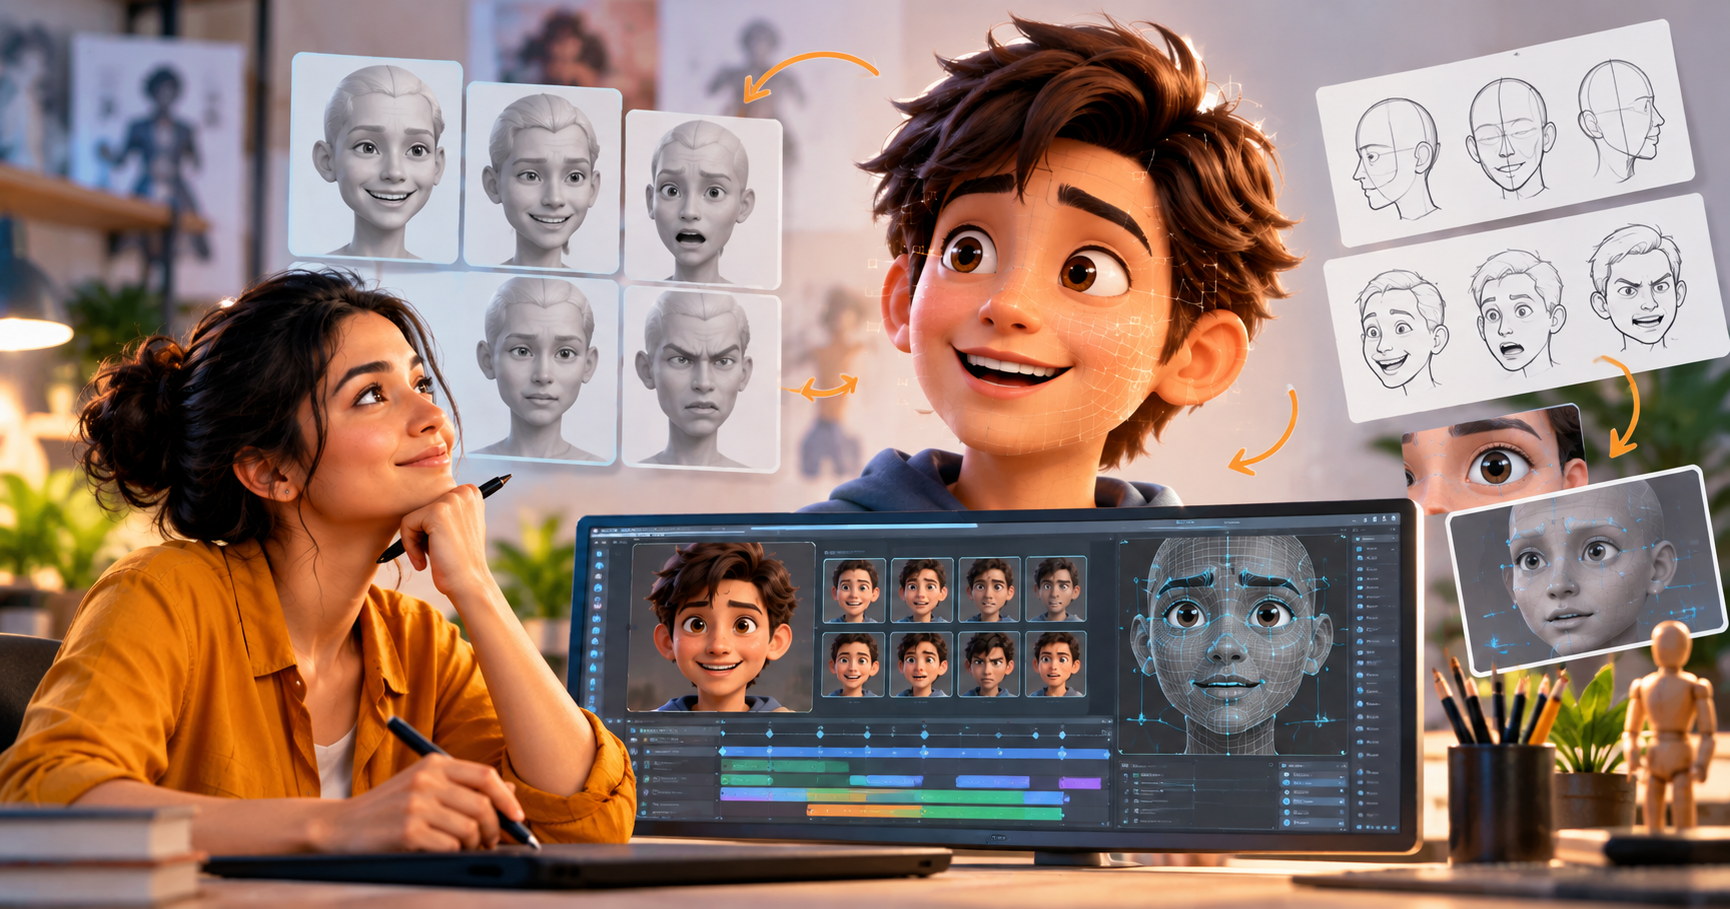
Pause a scene from your favourite animated film and look only at the face. A brow lifts a few frames before the line is spoken, the eyes hold a beat too long, and suddenly the character is thinking. That is facial animation, and it is the skill that turns a moving model into a performer.
The short answer to how you learn it: work in layers. Start with timing fundamentals, study real expressions on video, then animate eyes and brows, then lip sync, and only then attempt full acting shots. A structured animation course speeds this up, mainly because someone critiques your shots, but you can start practising today with a phone camera and a free character rig.
What facial animation actually involves
Facial animation means posing and timing the controls of a character’s face: eyes, brows, cheeks, jaw and lips. In 3D, those controls usually drive blendshapes (pre-sculpted face shapes you mix with sliders), joints, or a combination of both. In 2D, you draw each expression yourself.
As a beginner you will not build the rig. You will animate one someone else built, so the job is performance, not technical setup. Rigging is a separate specialisation you can explore later.
How to learn facial animation, step by step
1. Lock in the basic principles
Timing, spacing, anticipation and ease in and out apply to a blink exactly as they apply to a bouncing ball. If your body animation still looks floaty, fix that first. Faces expose weak timing faster than anything else.
2. Study real faces
Paul Ekman’s Facial Action Coding System breaks expressions into individual muscle movements, such as the inner brow raise or the lip corner pull. You don’t need to memorise it; use it as vocabulary. Then film yourself in a mirror saying one line with three different feelings, and scrub the footage frame by frame. Notice what moves first, what lags, and how uneven real faces are.
3. Practise on a simple rig
Pick one package (Maya and Blender are the common choices) and a clean, well-labelled character rig. Work pose to pose: key the extremes first, breakdowns second. Keep early expressions subtle. Big ones break most rigs, and subtle ones teach you more.
4. Start with eyes and brows
Viewers read emotion from the eyes and brows before the mouth moves. Practise three things: eye direction, small darts between points of interest, and blinks placed where a thought changes. Let the eyes reach a new target slightly before the head finishes turning.
5. Move on to lip sync
Sounds like B, M and P share one closed-lip shape, so you need far fewer mouth poses than letters. Hit the strong vowels and hard consonants and let the rest ride on the jaw. Many animators place mouth shapes a frame or two ahead of the sound, then adjust by eye. Animating every syllable at full strength makes a face chatter like a puppet.
6. Add acting
Take a five to ten second dialogue clip and animate the thought behind it, not just the words. Add a pause before the answer. Offset the left and right sides by a frame or two. A hold on the eyes after the line often says more than the line did.
Common beginner mistakes and quick fixes
| Mistake | Why it reads badly | Fix |
|---|---|---|
| Animating every syllable | The mouth looks like it is chattering | Key vowels and hard consonants only |
| A perfectly symmetrical face | Feels mechanical | Offset brows and lip corners by 1–2 frames |
| Dead eyes | The character seems unaware | Add small darts and timed blinks |
| Opening with extreme emotions | The rig distorts and acting feels forced | Start subtle, then push |
A simple four-week practice routine
- Week 1: eye darts and blinks on a short looping shot.
- Week 2: six expression poses built from your own mirror footage.
- Week 3: one line of dialogue, lip sync only.
- Week 4: the same line with full acting, compared against your reference.
Check each week’s shot against your footage before moving on.
Choosing an animation course in Kolkata
Self-study works for the basics, but facial animation lives on feedback. Someone has to tell you the brow came late or the blink felt random. When comparing any animation course, check for:
- Regular critique on your own shots, not only demonstrations
- Workstation access and properly built character rigs
- A finished dialogue or acting shot you can put in a showreel
- Faculty with production experience
Moople Institute offers a certificate in Advanced 3D Animation & AI, alongside 2D Animation & AI, 3D Modelling & AI and the four-year BSc in Animation Film Making. The institute also highlights its own production studio and industry-seasoned faculty. At counselling, ask how character performance and facial animation are covered, and browse the student artwork gallery before you decide.
Centres in and around Kolkata include Chowringhee, Jodhpur Park, New Alipore, Sealdah, Baguiati, Barasat, Berhampore, Chandannagar, Serampore and Sonarpur. Check the Centres page for current addresses and batch timings, and pick the one you can reach comfortably several times a week.
Frequently asked questions
Can a beginner learn facial animation without knowing rigging?
Yes. Animators work with finished rigs. Knowing what each control does helps, but you can learn performance first.
How long does it take to learn facial animation?
With regular practice, clean blinks and expression poses come within weeks. Believable dialogue acting usually takes months, and the pace depends on practice time and feedback.
Which software should I use?
Maya and Blender are both widely used for 3D character work. Choose one and stay with it long enough to learn its animation tools; the principles transfer.
Is facial animation different in 2D and 3D?
The principles are the same, the method differs. In 2D you draw each expression; in 3D you pose rig controls.
Do I need to draw well?
For 3D, not necessarily. Careful observation matters more. For 2D, drawing skill helps a great deal.
Is an animation course necessary?
No, but a course gives you critique, hardware and deadlines, which most self-learners lack.
Conclusion
Facial animation rewards patience and observation more than raw talent. Learn the layers in order: principles, real reference, eyes, lip sync, then acting. If you would rather learn with mentors and a dedicated workstation, a good animation course in Kolkata can shorten the road. To see which Moople programme fits your goals, book a free counselling session at the centre nearest you.
Pooja Sharma is a creative education content writer who creates engaging articles on career guidance, skill development, and learning opportunities to help students make informed decisions.